Your first hour
Brand the platform, add a client, switch on what you sell them, and invite the people who use it.
A new agency workspace arrives empty except for you. This is the order that gets a real client live with the least backtracking. Everything here can be changed later; none of it has to be perfect first time.
#1. Put your name on it
Do this before you invite anybody, because every invitation email and every sign-in page a colleague or client sees from now on carries whatever is set here.
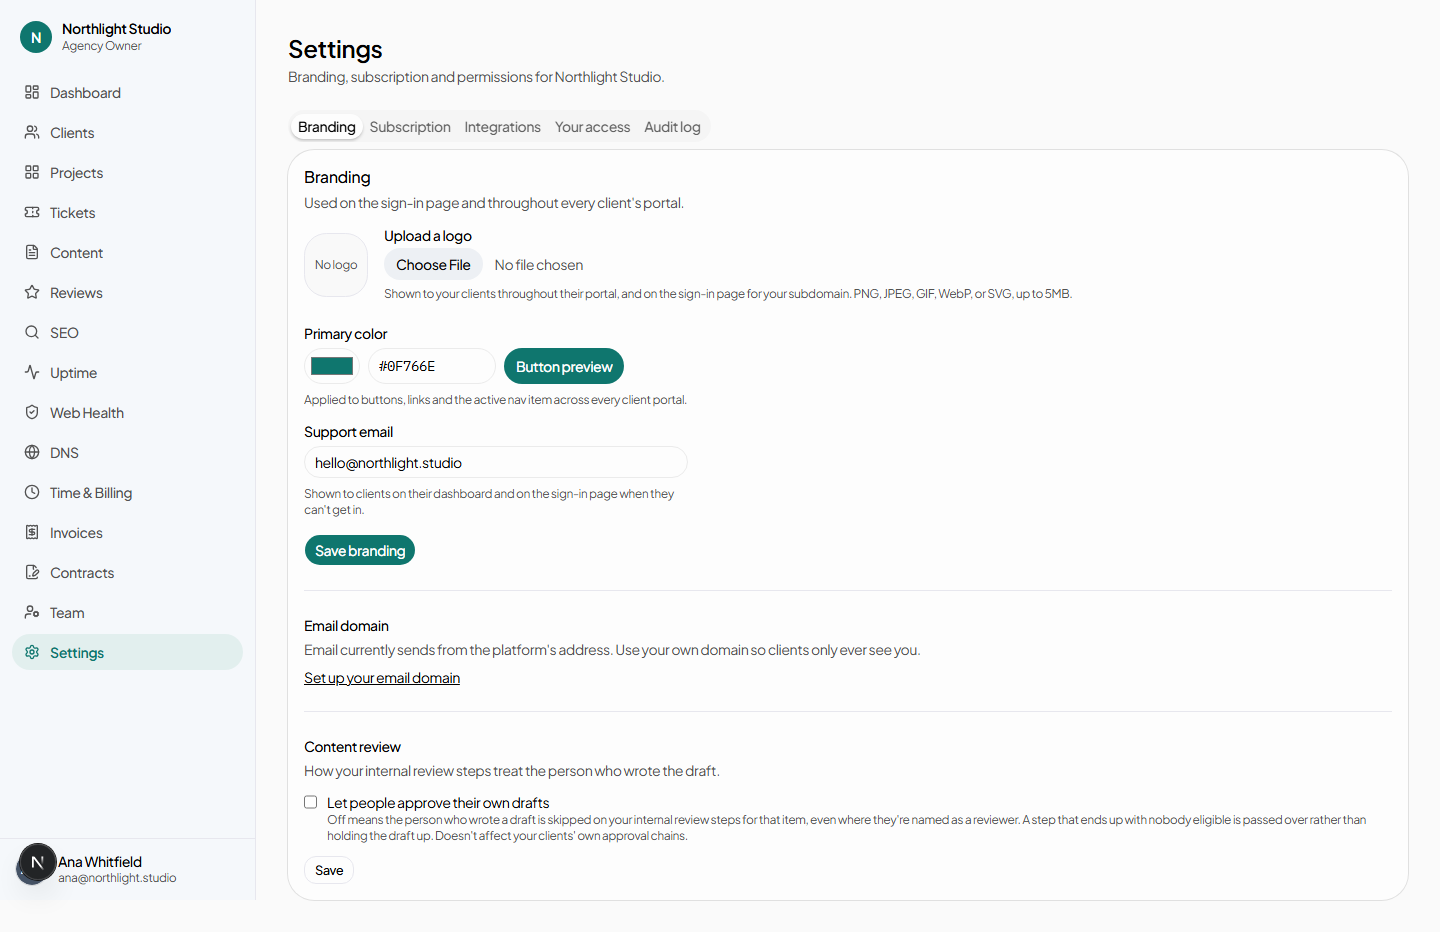
- Open Settings → Branding. The sidebar entry is at the bottom; the full reference is here.
- Upload a logo. A PNG with a transparent background works best — it sits on both the light and dark themes. It appears in the sidebar of both portals and on the sign-in page.
- Set your primary colour. Paste a hex value or use the swatch. This becomes the accent on buttons, links and highlights across the agency portal, every client portal, the sign-in page and the public contract signing page.
- Set a support email address. Your clients see it on their portal home and on the sign-in page, and it is what they will use when something is wrong.
- Press Save branding. The change is live immediately, for everyone.
#2. Create your first client
Clients → New client. Only the client name is required; everything else on this form can be filled in later from the client's Profile tab.
Saving takes you straight into the onboarding wizard rather than back to the list, because a client with no locations, no websites and no modules is not yet a client anyone can be shown.
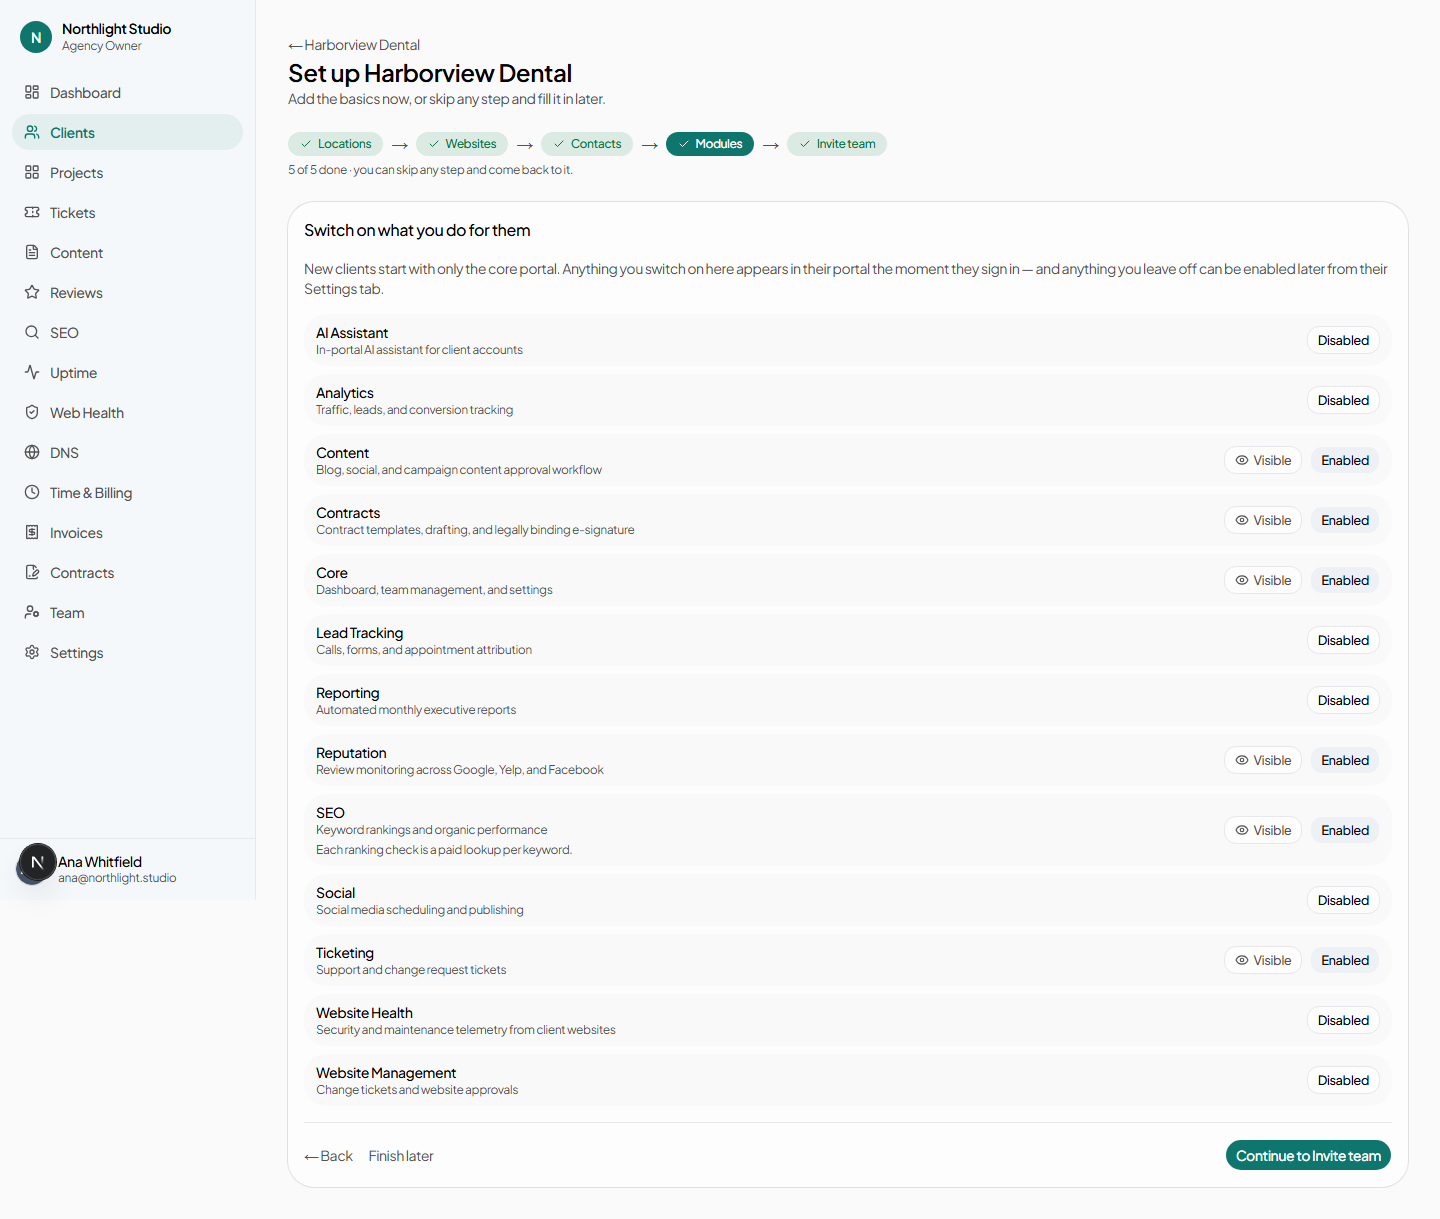
#3. Walk the five steps
The wizard has five steps and every one of them is optional. The progress chips at the top are derived from real records, not from a stored wizard position — so you can leave, come back a week later, and the checklist will be honest about what is actually there.
- Locations. Where the client operates. Add the address; a Google Place ID can be filled in now or found later with Find from address. Local rankings are measured from a location, and Google reviews are collected per location, so a client with no location can do neither.
- Websites. The domains you look after. Marking one Live also starts uptime monitoring, and the form tells you when it has.
- Contacts. Who to call. These are reference records, not logins — the people who sign in come at step five.
- Modules. What you have actually agreed to do for this client. Everything except Core starts switched off, on purpose: a portal that advertises SEO on day one has promised something nobody sold. See Modules.
- Invite team. The client's own people, each with a role. This sends them an invitation email; they set a password and land in their portal.
#4. Invite your own team
Team → Invite teammate. Enter an email address and choose a role. The role is the whole decision: it is the complete list of what that person can do, and it can be changed later.
| Role | Give it to |
|---|---|
| Agency Owner | You, and anyone who can commit the business — it is the only role that can countersign a contract and change the subscription. |
| Agency Admin | Whoever runs the operation day to day. Everything except countersigning and billing changes. |
| Account Manager | Client-facing staff who own accounts: clients, projects, tickets, content, SEO, uptime. |
| Content Writer / Designer | People who draft and comment on content and should see nothing else. |
| SEO Specialist | Search work, plus the ability to raise a ticket from what they find. |
Full detail, permission by permission, is in Roles and permissions.
#5. Look at it as the client
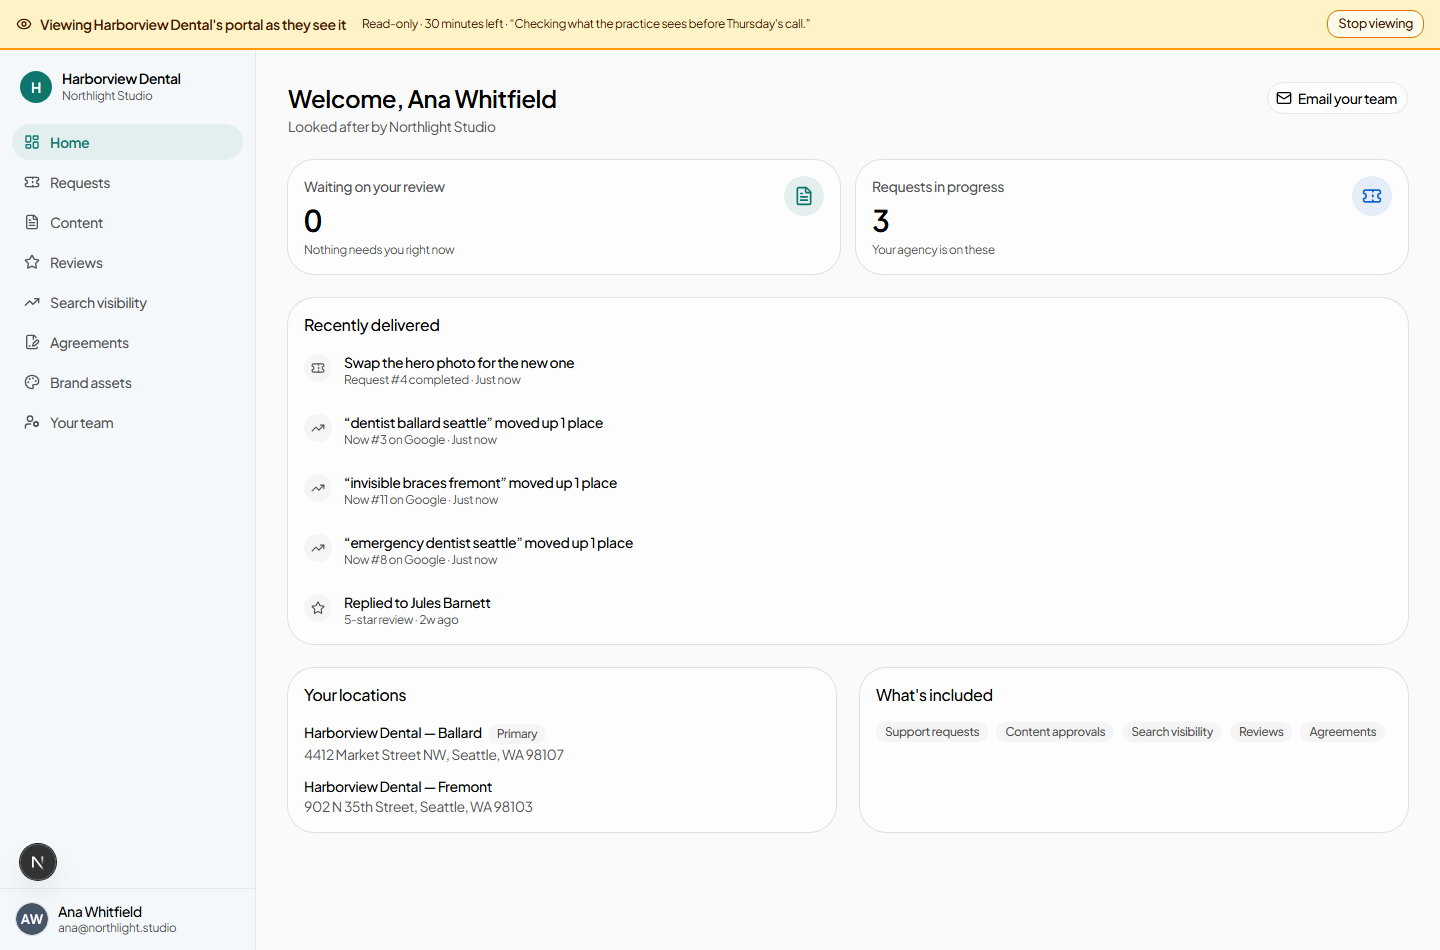
Before you tell a client their portal is ready, open it. On the client's Settings tab, type a reason and press View as this client.
This opens their portal exactly as they will see it, read-only, with an amber banner and a countdown. You cannot change anything while viewing, the session ends on its own, and the whole thing is written to the audit log with the reason you typed. It is the fastest way to catch a module you meant to hide, or a section that is empty and shouldn't be.
#6. Start the work that runs itself
Two things are worth switching on the same day the client goes live:
- Rank tracking. On the client's SEO page, track the searches that matter to them, then set a cadence on the client's Settings tab. Weekly is the default and the right answer for most clients; daily costs roughly seven times as much and the page says so. See SEO.
- Uptime. Adding a live website already started this. Confirm it on the Uptime page, where you can also add anything that is not a client website.
#7. Set up billing before the first invoice
- An hourly rate per client, on the client's Settings tab. Without it, billable hours show a dash instead of an amount and cannot be invoiced.
- A weekly capacity per team member, on the Team page. Without it, the utilisation column on the time report has nothing to divide by.
- Your own subscription, on Settings → Subscription: add a payment method, confirm the seat counts, and start it. Seats are both the invoice and the ceiling — you cannot set them below what you are already using.
#What to read next
- The client record — every tab, every field, in full.
- Content approvals — the workflow most agencies configure next.
- Limits and cost — what each paid action spends before you scale it across every client.